Project Dashboard
The Project Dashboard is the home screen you arrive at after logging in, where you access your modules, create new ones, and manage your workspace.
Key Areas
7 min read
Overview
Every session starts here. The Project Dashboard gives you a single place to see all of your modules at a glance, pick up where you left off, start something new, or find a specific piece of work quickly with search and filters. If you are part of multiple workspaces, you can switch between them here without leaving the dashboard.
Modules are displayed as cards, arranged either in a grid or a list depending on your preference. Cards show a thumbnail, the module title, and its primary learning objective, so you can identify content by both name and purpose. From a card, you can open a module directly or access options to duplicate, delete, or lock it.
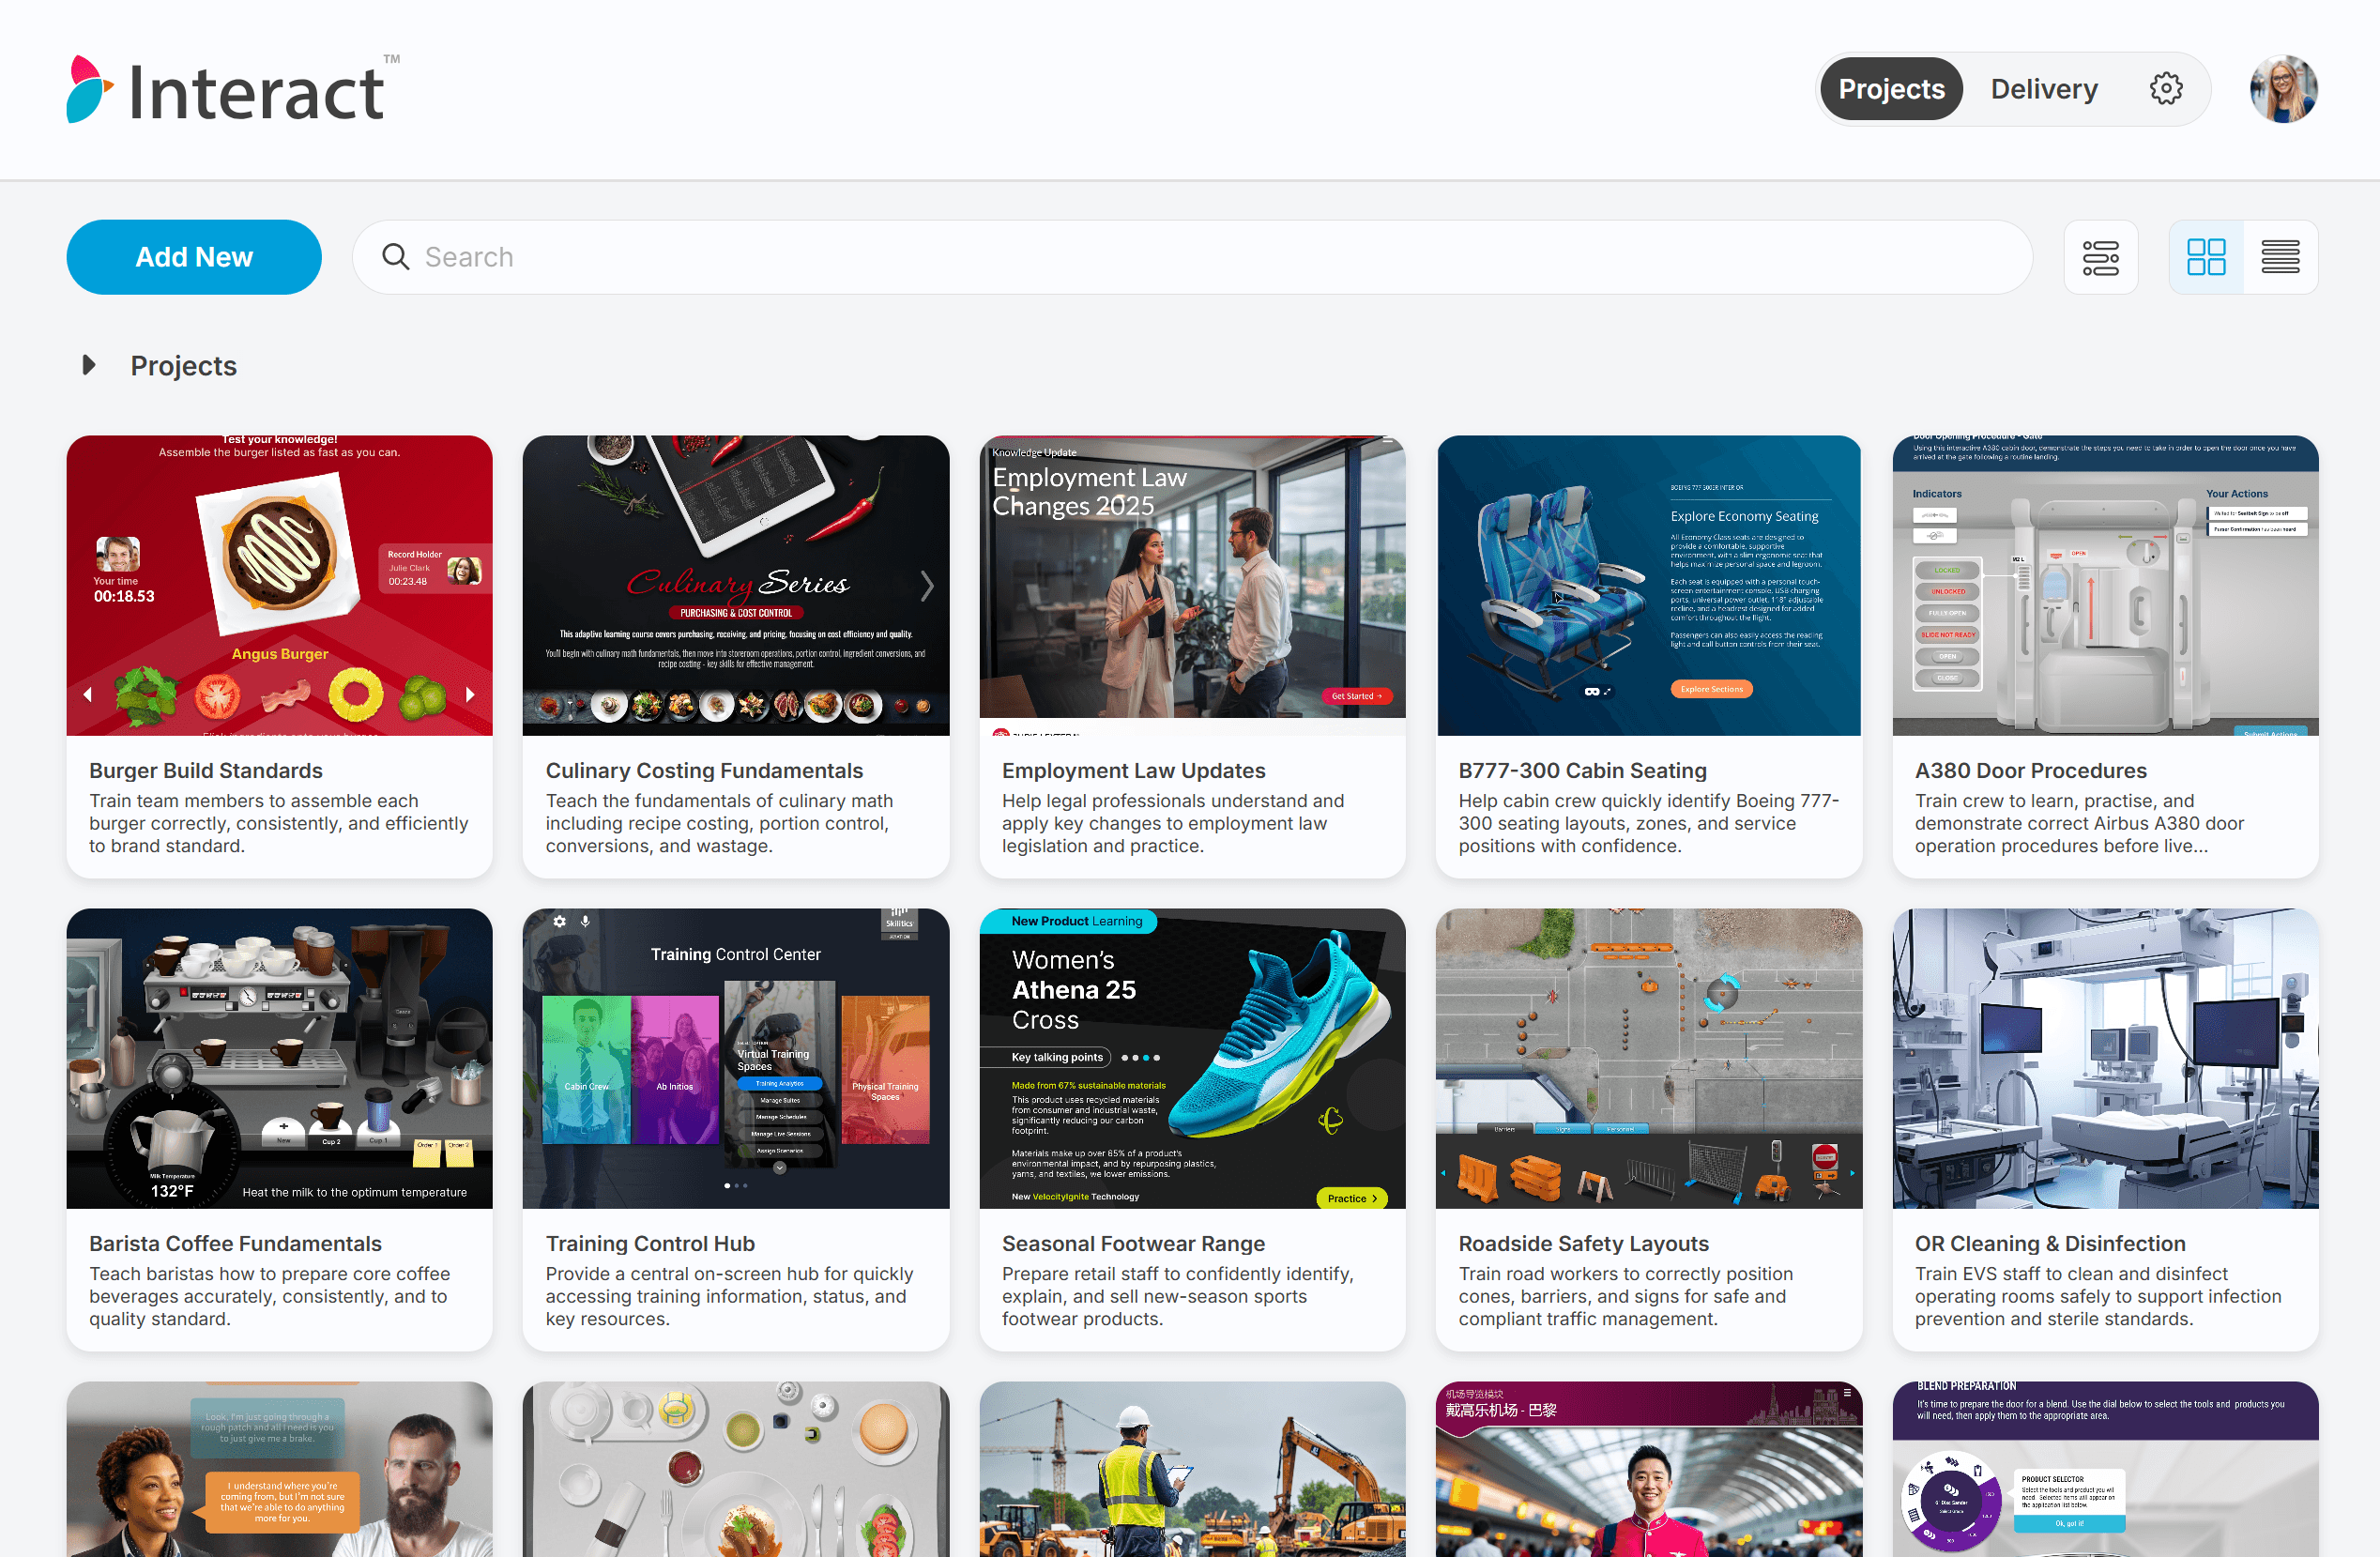
Project Dashboard showing module cards in grid view with the search bar and Add New button visible
Understanding the Project Dashboard
Module Cards
Each module appears as a card. A card shows:
A thumbnail image representing the module
The module title
The learning objective: a short summary of the module's intent, displayed beneath the title
A user avatar in the top corner when another user currently has the module open
A lock icon when the module has been locked to prevent editing
The thumbnail gives you a visual anchor when scanning a large list of modules. The learning objective helps distinguish modules with similar names.
Note: If a module is locked, its card displays a lock icon. You can still open a locked module to review it, but changes cannot be made until it is unlocked.
Grid View and List View
By default, modules are shown in a grid of cards. You can switch to a list view if you prefer a more compact layout with more modules visible at once. Your view preference is remembered between sessions.
Folders
You can organise modules into folders by including a pipe character (|) in the module title. Everything before the final | becomes the folder path, and the text after it becomes the module name shown on the card.
For example, a title of Onboarding | Week 1 | Introduction places the module inside an Onboarding folder, within a Week 1 sub-folder.
Folders appear as cards alongside your modules in the dashboard. Clicking a folder opens it and shows only the modules inside. Use your browser's back button or the breadcrumb trail at the top of the projects area to return to the full module list.
Tip
You can create nested folder structures using multiple pipe characters. Plan your folder hierarchy before creating modules, as editing the module title is the only way to move a module into a different folder.
Workspaces
Your content is organised into workspaces. A personal workspace holds work that belongs only to you. If your account is part of one or more organisations, each organisation has its own workspace with its own set of modules and members.
The workspace you are viewing is shown in the header. Switching workspaces shows the modules that belong to that workspace.
The Project Dashboard Interface
The Header
The header runs across the top of the screen and stays visible throughout the dashboard.
On the left, the navigation gives you access to the main areas of the product. The Projects tab is where the module dashboard lives.
On the right, your user avatar opens the user menu. From here you can access Application Preferences, Account Settings, and (if your account has access to multiple workspaces) a Workspaces section that lists each available workspace including your Personal Workspace. Click any workspace to switch to it.
The Projects Area
The main content area below the header shows your modules and the controls for managing them.
Control | What it does |
|---|---|
Add New | Opens the module creation wizard |
Search | Filters the module list by title or learning objective as you type |
Filters | Opens the filter panel to narrow modules by tags or other criteria |
Grid View | Displays modules as cards in a grid layout |
List View | Displays modules as rows in a compact list layout |
If no modules exist in the current workspace, the dashboard shows an empty state. Use Add New to create your first module.
Common Tasks
Creating a New Module
Click Add New in the Projects area.
Enter a title for your module in the What is the title of your module? field. To place the module in a folder, use a pipe character in the title, for example
Compliance Training | Data Privacy.Enter a learning objective in the What is the module's primary learning objective? field.
Click Create Module.
The module is created and opens in the designer immediately.
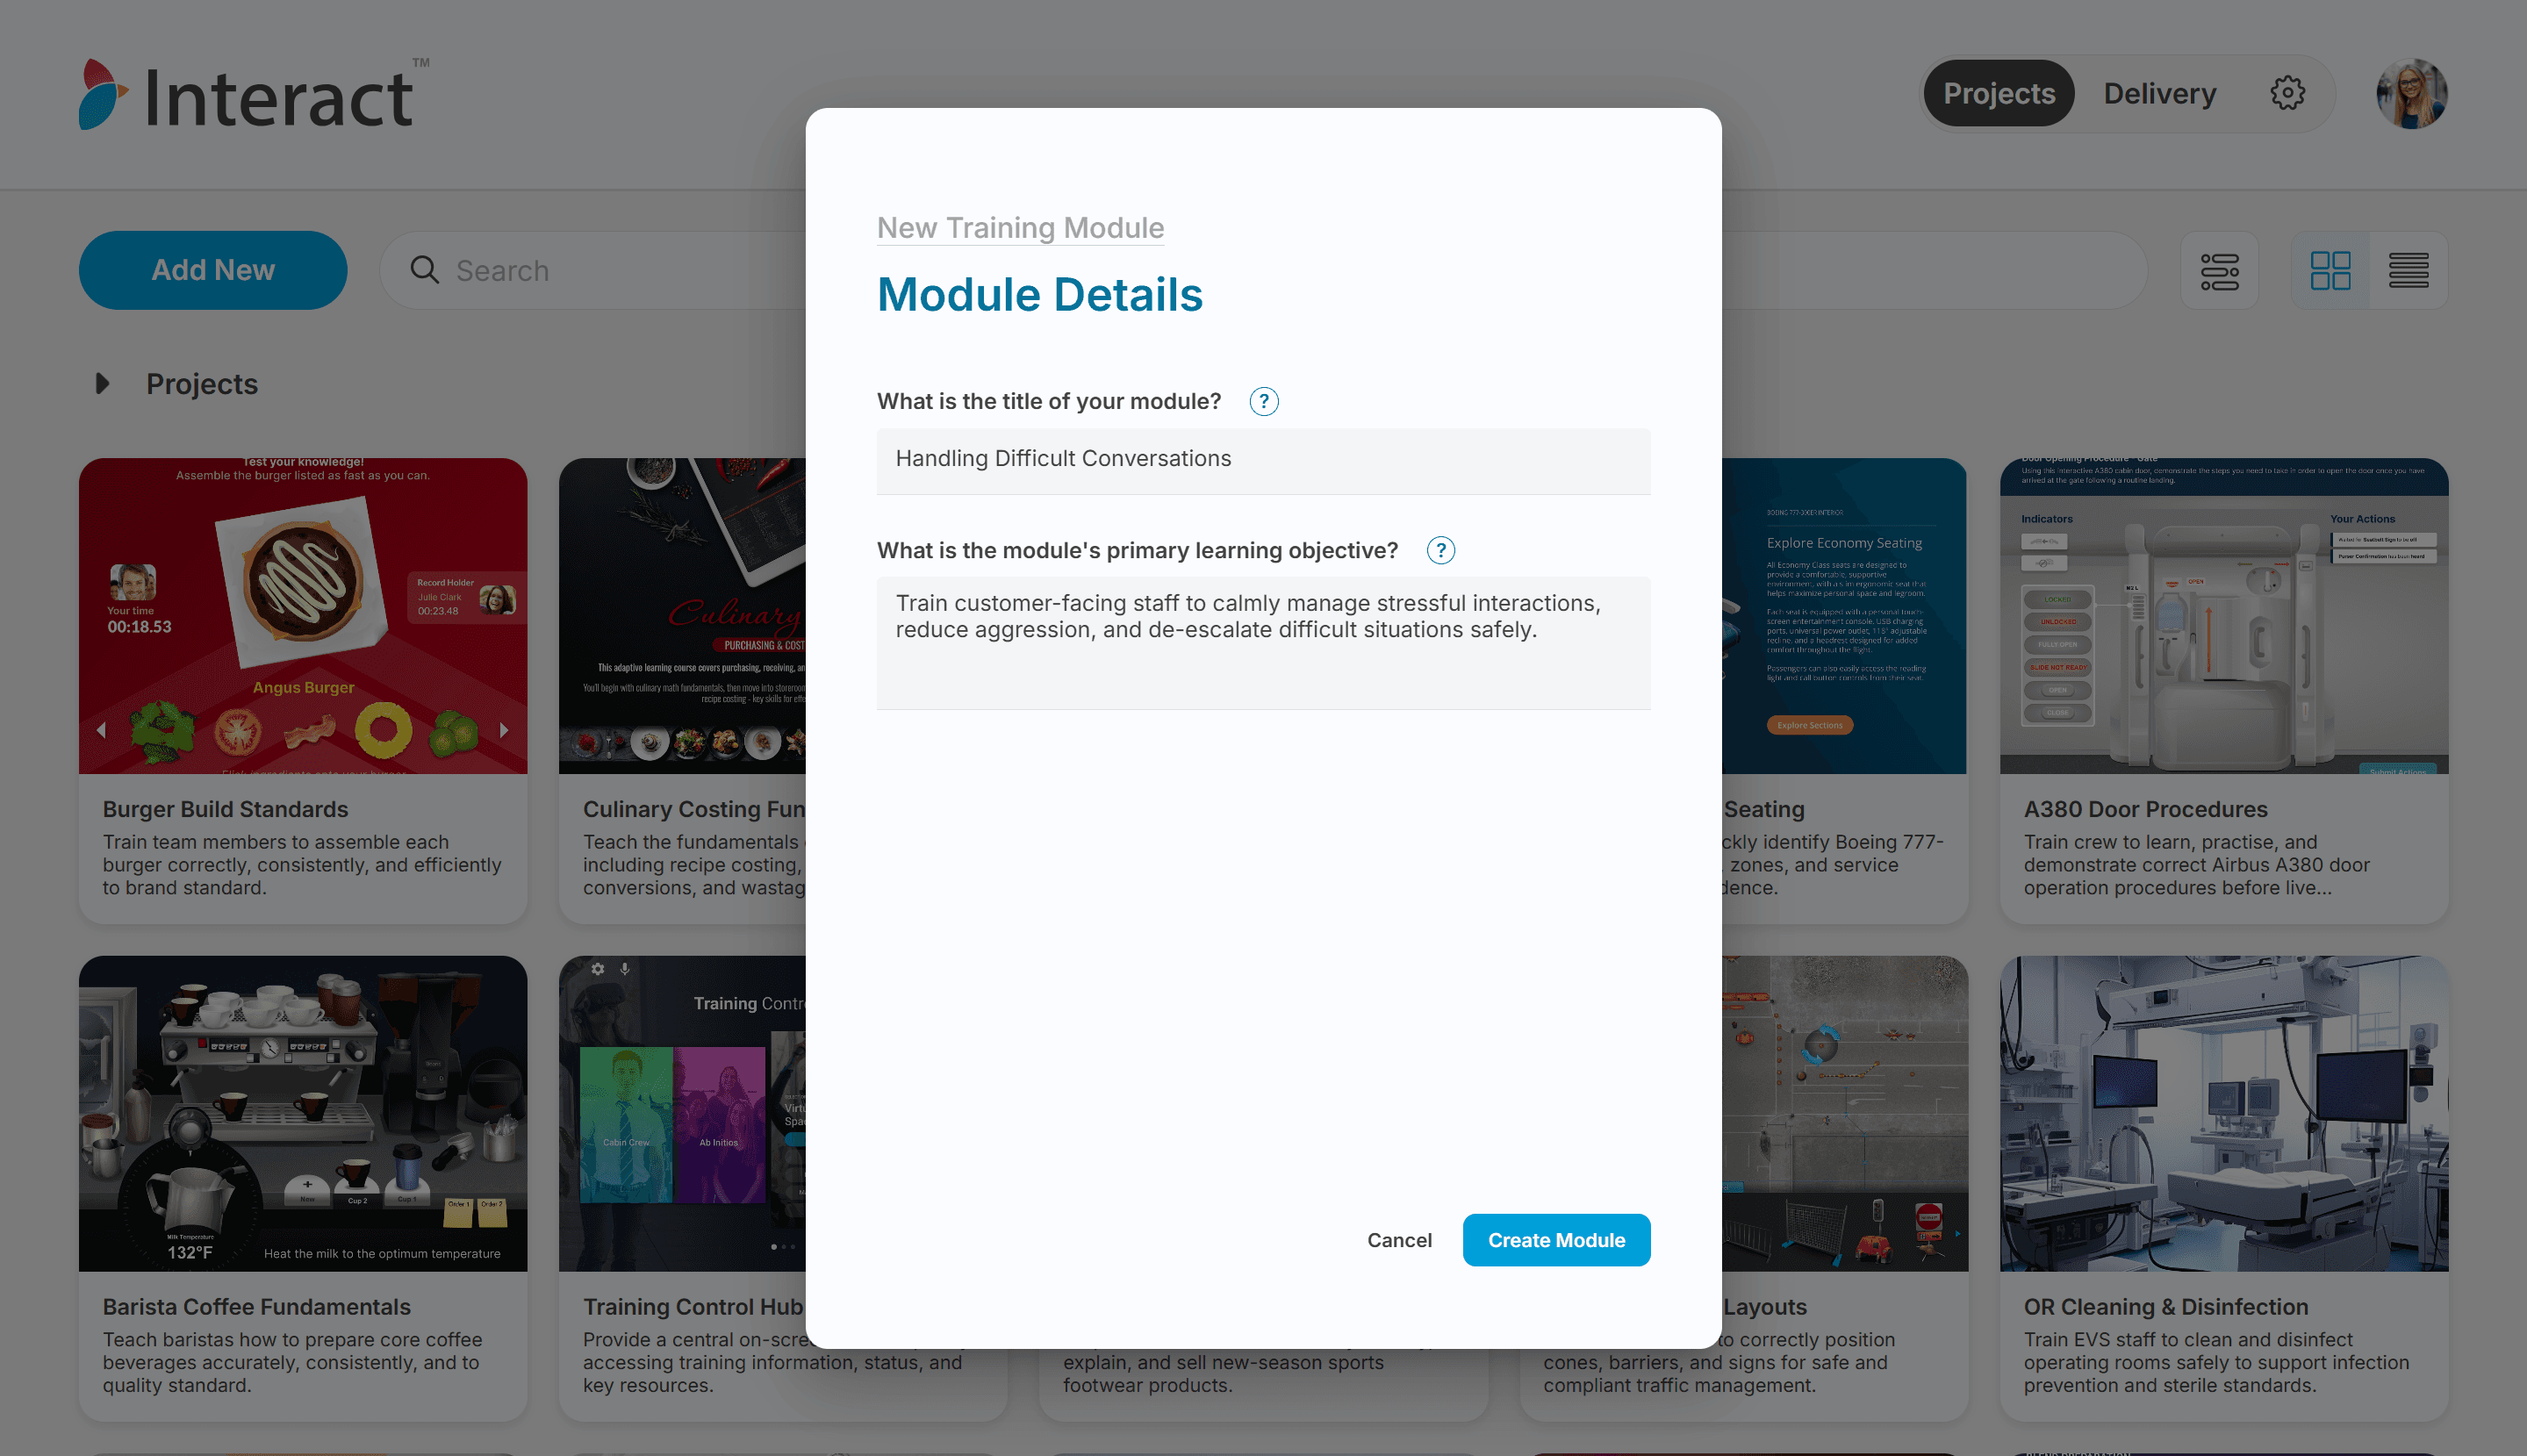
New Training Module dialog with title and learning objective fields
Opening a Module
Double-click a module card to open it in the designer.
Duplicating a Module
Right-click a module card to open its context menu (or hover over the card and click the menu icon if present).
Select Duplicate.
A copy of the module is created in the same workspace. You can rename it and move it to a different folder by editing its title.
Deleting a Module
Right-click a module card to open its context menu.
Select Delete.
Confirm the deletion when prompted.
Warning
Deleting a module permanently removes it and all of its content. This cannot be undone.
Locking and Unlocking a Module
Locking a module prevents any editing. Use this to protect finished content or content that is currently being reviewed.
To lock a module:
Right-click a module card to open its context menu.
Select Lock.
To unlock a module:
Right-click a locked module card to open its context menu.
Select Unlock.
Note: Lock and Unlock are mutually exclusive: a locked module shows Unlock, and an unlocked module shows Lock.
Searching for a Module
Click the search field in the Projects area and type any part of the module title or learning objective. The module list filters in real time as you type. Clear the search field to show all modules again.
Filtering Modules
Click Filters in the Projects area.
Choose the filter criteria (such as tags) in the filter panel.
Apply the filter. The module list updates to show only matching modules.
To remove the filter, return to the filter panel and clear your selection, or dismiss the active filter chip if one is shown.
Organising Modules into Folders
Folders are created by including a pipe character (|) in a module title. See Folders above for how the syntax works.
To move a module into a folder:
Open the module in the designer.
Update the module title to include the folder path, for example:
Product Training | Module 1.Return to the Project Dashboard. The module now appears inside the folder named
Product Training.
Switching Workspaces
Click your user avatar in the top-right corner of the header.
In the Workspaces section of the menu, click the workspace you want to switch to.
The dashboard reloads showing the modules in the selected workspace.
Accessing Account Settings
Click your user avatar in the top-right corner of the header.
Select Account Settings to manage your profile, email, and other personal account details.
Select Application Preferences to adjust your designer preferences such as theme or display settings.